
Custom Fonts
This document explains how to add custom fonts to your project and how to use them. You can either use fonts from Google Fonts or include your own custom font files.
Using Google Fonts
When using fonts from Google Fonts, there are two methods available:
Method 1: Using @import in Your CSS
@import in Your CSSSelect Your Font:
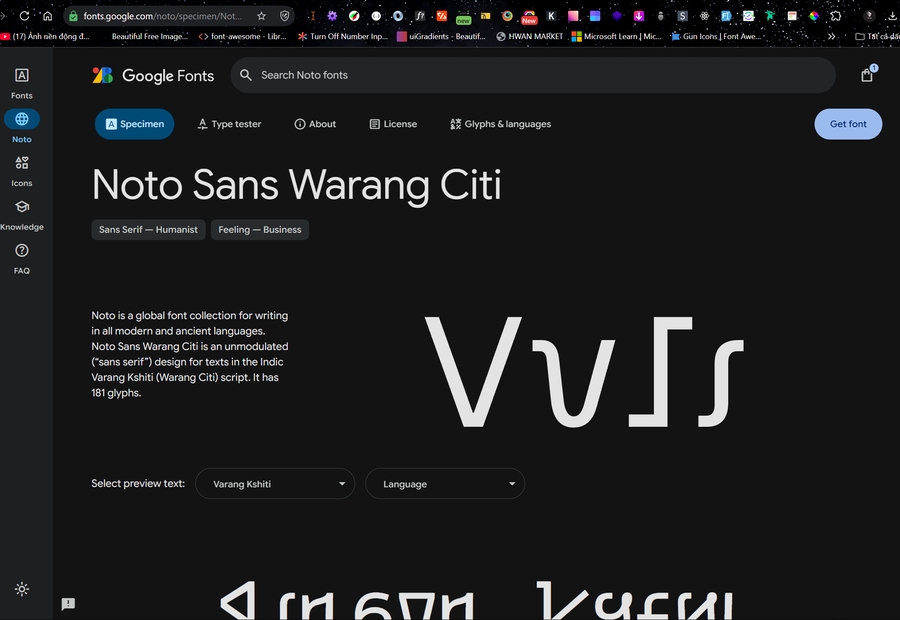
Go to Google Fonts and search for the desired font.
Click on the font to view its details.
Obtain the
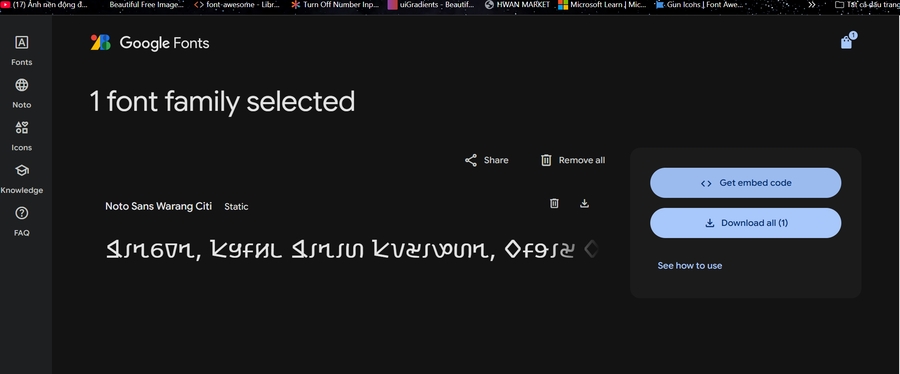
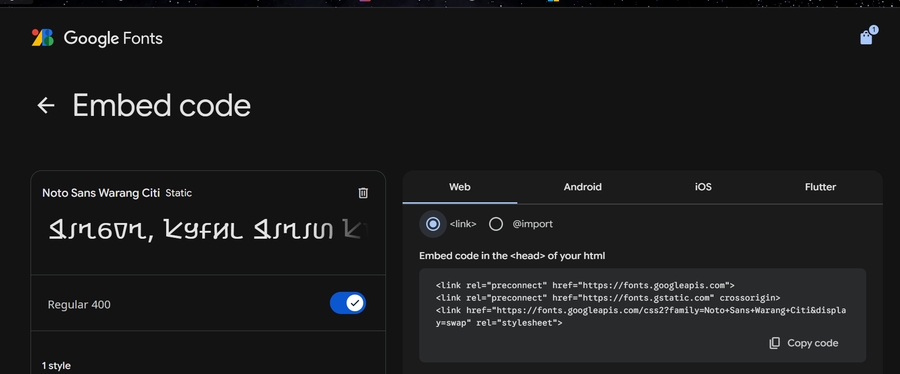
@importCode:Click the "Get font" button.
Click "Get embed code".
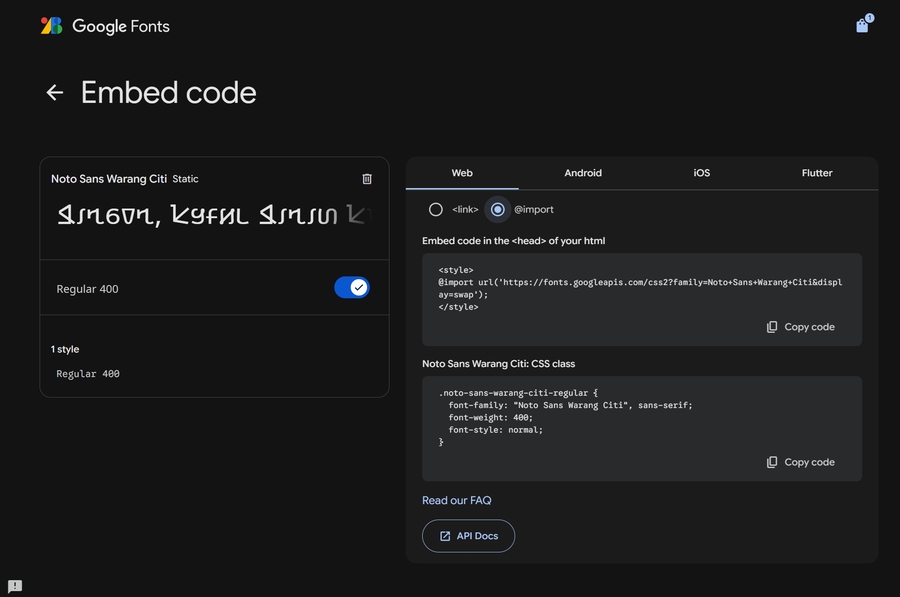
Choose the
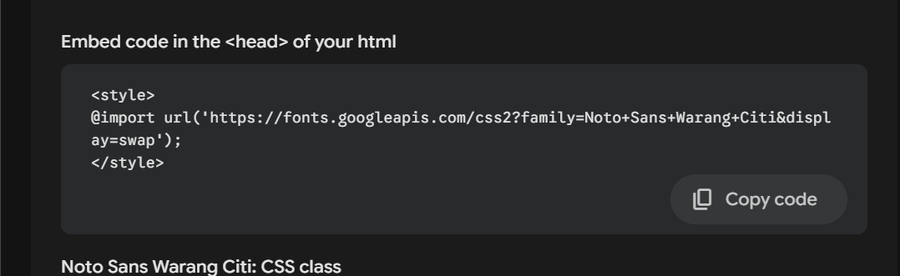
@importoption.Click "Copy code" to copy the code snippet.
Note: Only copy the code inside the
<style>...</style>tags. Remove the<style>tags before using the code.
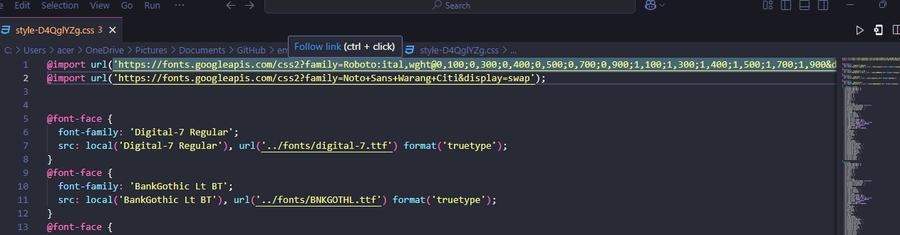
Add the Code to Your CSS:
Open your project's CSS file (e.g.,
style-...css).Paste the
@importcode below any existing@importstatements.
Configure the Font:
Open the configuration file located at
web/build/config/hud/styles/base.js.Add the new font details according to the instructions provided in that file.
Method 2: Using <link> in Your HTML
<link> in Your HTMLSelect Your Font:
Navigate to Google Fonts and choose the font you want to use.
Click on the font to access its details.
Obtain the
<link>Code:Click the "Get font" button.
Click "Get embed code".
Choose the
<link>option.Copy the provided
<link>snippet.
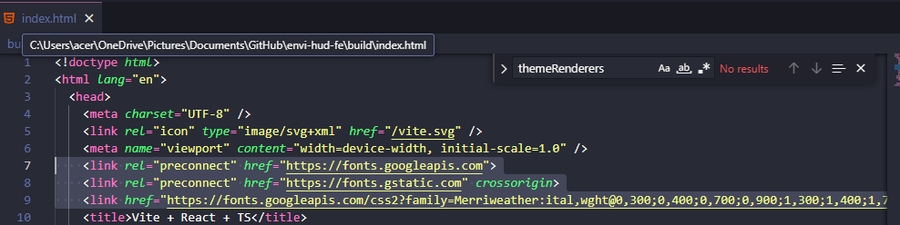
Add the Code to Your HTML:
Open your main HTML file (e.g.,
index.html).Paste the
<link>code above the<title>tag (for example, above<title>Vite + React + TS</title>).
Configure the Font:
As in Method 1, update the configuration file at
web/build/config/hud/styles/base.jswith the new font details.
Using Custom Fonts (Non-Google Fonts)
If you are not using fonts from Google Fonts and have your own font files (such as .ttf, .otf, etc.), follow these steps:
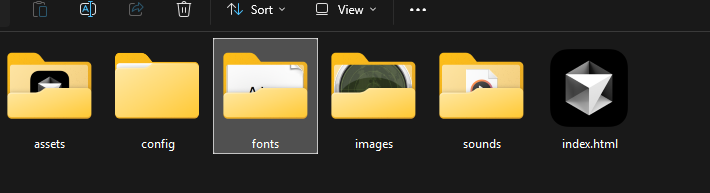
Add Font Files:
Place your custom font files into a folder named
fontswithin your project.
Define the Font with
@font-face:Open your project's CSS file (e.g.,
style-...css).Locate the existing
@font-facecode snippet provided by the UI as a template.Copy and modify this code to reference your custom font files.
Note: Ensure that the font name and file format are exactly correct.
Configure the Font:
After updating your CSS with the new
@font-facedefinitions, open the configuration file atweb/build/config/hud/styles/base.js.Add the new font details to integrate it fully into the UI.
Summary
Google Fonts:
Method 1: Use the
@importoption in your CSS.Method 2: Use the
<link>option in your HTML.
Custom Fonts (Non-Google Fonts):
Place your font files in the
fontsfolder.Define the font using
@font-facein your CSS.
Final Step for All Methods:
Update the configuration file at
web/build/config/hud/styles/base.jsto include the new font.
By following these instructions, you can easily add and use custom fonts in your project.
Last updated